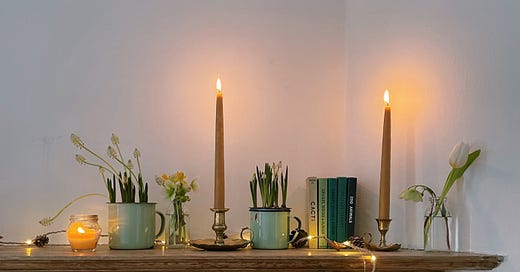
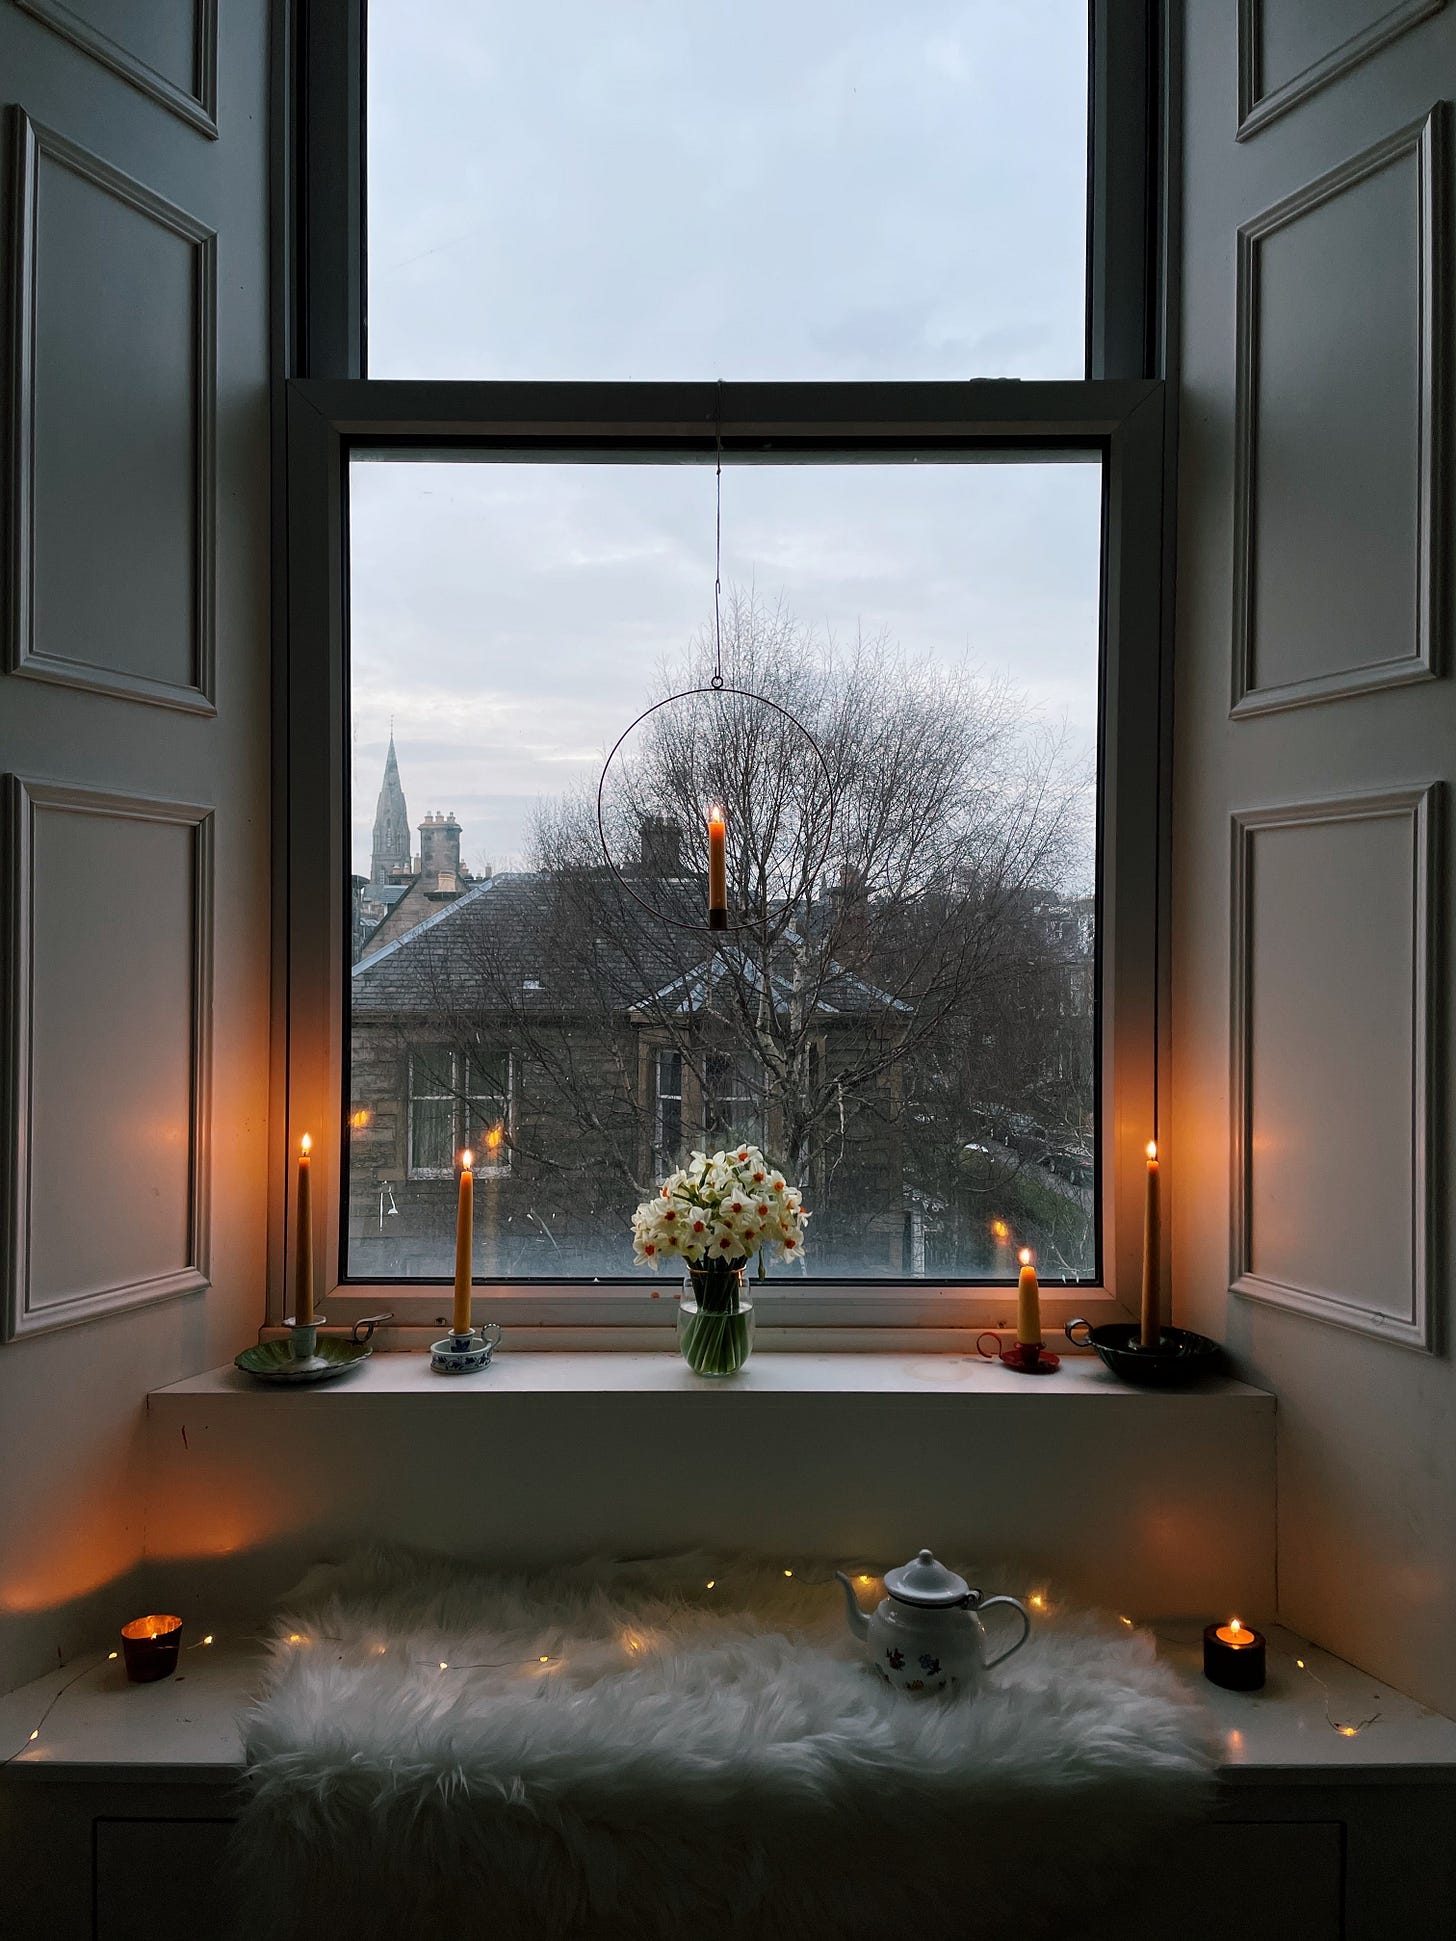
Beeswax candles offer a truly sensory experience. Their natural, honey-rich scent; the deep, warm glow they produce as they burn; the soft, malleable feel of the natural wax and their powdery bloom that appears in the cold. Beeswax candles have become a year-round essential in my house, but something about their golden, flickering light and honey scent makes them so well-suited to these dull, dark weeks in the lead-up to Imbolc.
Beeswax has been used as a fuel for lighting for thousands of years. The Romans were first to make candles with wicks made from papyrus dipped in animal fat or beeswax and used them to light homes, guide travellers and in religious ceremonies. Until the Middle Ages, candles were mainly of animal origin, made with foul-smelling and smoky tallow. Beeswax candles were popularised in Medieval Europe, when they became favoured for their clean burn and soft light. However, they came with a hefty price tag so were confined to churches and wealthy homes. Spermaceti and paraffin waxes came next, until the invention of the light bulb put many chandlers (candle makers) out of business.
Today we recognise the myriad of beeswax benefits for our bodies and the planet. Firstly, they are natural and efficient. In spite of the more expensive material – a by-product of the honey making process, but only produced in small amounts – beeswax burns more effectively than paraffin or soy as it has a higher melting point. It burns between twice and five times as long, offsetting the higher outlay. What’s more, the resource is renewable. Beeswax burns with a naturally bright light that is the same spectrum as the sun – offering much-needed solar rays in Winter. Like all the best things, they become even more beautiful with age too.
Moreover, as beeswax burns it gives out a negative charge removing positively charged particles such as pollen and dirt. This means that beeswax candles are not only environmentally friendly, but they’re natural ionisers – a great way to purify the air in your home to help with the likes of hay fever and asthma. They’re even hypo-allergenic too. Unlike other materials, beeswax candles are soot free (as long as you keep the wick trimmed) and burn cleanly, emitting a naturally sweet, honeycomb scent all of their own. Theoretically, they should be unprocessed and biodegradable; just watch out for paraffin blends in some shop-bought candles.
Making your own beeswax taper candles is surprisingly simple to do, and a wonderful way to embrace a cosy Winter afternoon crafting at home. There is something so incredibly grounding about the process, from mindfully melting the wax to the repetitive dipping and rolling technique used to make taper candles. I first learned some of these techniques at the wonderful Travelling Basket here in Edinburgh. To make your hand-dipped beeswax taper candles, you will need:
Beeswax pellets (You can also purchase bricks of beeswax, but they require a hammer, chisel and patience)
A tall tin can, for example a metal tennis ball tube
A pan of boiling water (one you don’t mind getting messy)
A roll of cotton wick
A craft knife
A dowel or stick to hang the candles over
A heatproof mat or surface.
Instructions:
1) Fill your saucepan with water and place your tall tin filled ¾ of the way up with beeswax into the water to form a makeshift double boiler.
2) Bring the water to the boil. While the wax begins to melt, measure and cut your wick: you will dip two at a time, so cut more than double the length of the tin can.
3) When the wax has melted, transfer the tin can to a heat-proof surface. Fold your wick in two, holding one end to the side and dipping the other straight up and down in the tin can. For the first dip, you will need to wiggle the wick around a little until it’s coated with wax. Repeat with the other side – or if you’re feeling bold you could do both at once, making sure they don’t get stuck together.
4) Allow to cool slightly, then roll on your heat-proof surface and smooth using your fingers, moving them up and down the length of the candle in a rolling motion to ensure an even finish. Allow to cool slightly. To speed this up you could dip your candles into a tall glass or vase of water, but I like the more grounding process of waiting and rolling.
5) Dip again: with each dip it will get easier to cover the surface of the forming tapers. Try to dip straight down and back up in one confident move to avoid bubbles and blemishes forming on the surface of the candle. Repeat the process of rolling and smoothing, and trim the end every few dips to avoid an unsightly bulge at the bottom of your candle.
6) Repeat until you reach your desired thickness. About 10 – 12 dips will result in your classic tapered dinner candle. Trim the bottom of the candle one last time and hang the pair of candles over the dowel or stick to set.
7) Leave to cure for a week or so for a better burn and scent.
I’m considering doing this for my upcoming Monthly Makes IGTV Live on Instagram - would that be helpful? You can also watch back my video on how to make scented soy wax candles from the Autumn. Let me know if there are any other seasonal crafts you’d like to see in my newsletter or on Instagram!


I would love to see a few pics of you dipping the wicks in the wax or a short video? that’s the part I can’t visualize. 💛
I would love to see a video of this please!